Hi! I'm Karli. I'm a High School Spanish teacher, mom to two young men, and love all things paper crafting, basketball, and Hello Kitty. I'm super busy so how do I unwind? Paper crafting...it's my therapy! Not cheaper than a therapist, but way more fun! Oh, and eating chocolate totally helps too! Thanks for stopping by!
Today I have a non-card project to share that I created for myself!
Here they are:
I recently picked up 4 books to read over the Summer (and beyond) so I made one bookmark for each of them. They feature the cute Lawn Fawn critters reading their own books. Each bookmark also has its own tassel. I used the WeRMemory Keepers' Fuse Tool to create the plastic pockets. But if you don't have it, you can get a similar look by using a laminating sheet through a laminator or Scotch Self-Sealing Laminating Pouches.
Here's a peek of the back- some cute critter bums 🙈!
If you want to see how these came together, you can click ----> HERE, or watch below.
Supplies Used:
Bookmark Duo dienamics- My Favorite Things
Fluffy Cloud dies- Sunny Studio
Bookworm stamp set & coordinating dies- Mama Elephant
Don't Worry, Be Hoppy stamp set & coordinating dies- Lawn Fawn
Slow Down and Enjoy stamp set and coordinating dies- Lawn Fawn
Hi ya friends,
I'm popping in to share a super quick & easy idea for a St. Patty's day treat *Ü*
Here it is:
It's hard to see with the wrapper, so below it is what it looks like inside. I originally pinned something similar on Pinterest, but they had used different colored licorice to create the rainbow (still awesome :).
I wanted to make a little something for my boys, and when I saw these sour heads candy at the store, I knew they would much rather have them than licorice and the rainbow design was just *perfect* for the rainbow!!! I might have been a little generous with the "Gold coins", but as a mama, that's how I rol-o... I die-cut the shamrock from green cardstock & adhered the "lucky" diecut on top. It reads, "One LUCKY Mom." and I sure am. I am blessed to have really wonderful sons *Ü*
Even though they're not little boys anymore (almost 16 & 22 yrs old!), they're never too old for something yummy!
Hi there friends,
I wanted to share a little something I made for a friend's daughter. Hannah started Kindergarten this year & has been having a hard time adjusting to life as a kindergartener. I thought about making this little surprise/treat box for when she has good days at school. Her teacher created a behavior chart to let her mom know about Hannah's day at school and when she has a day with 3 stars, she can pull out a treat from this box.
Here it is:
(sorry for the weird angle of this pic. The medallion is centered & straight IRL!)
So, if Hannah has a good day, she gets to put her hand into the hole at the top & pull out a treat.
Here's how I made it:
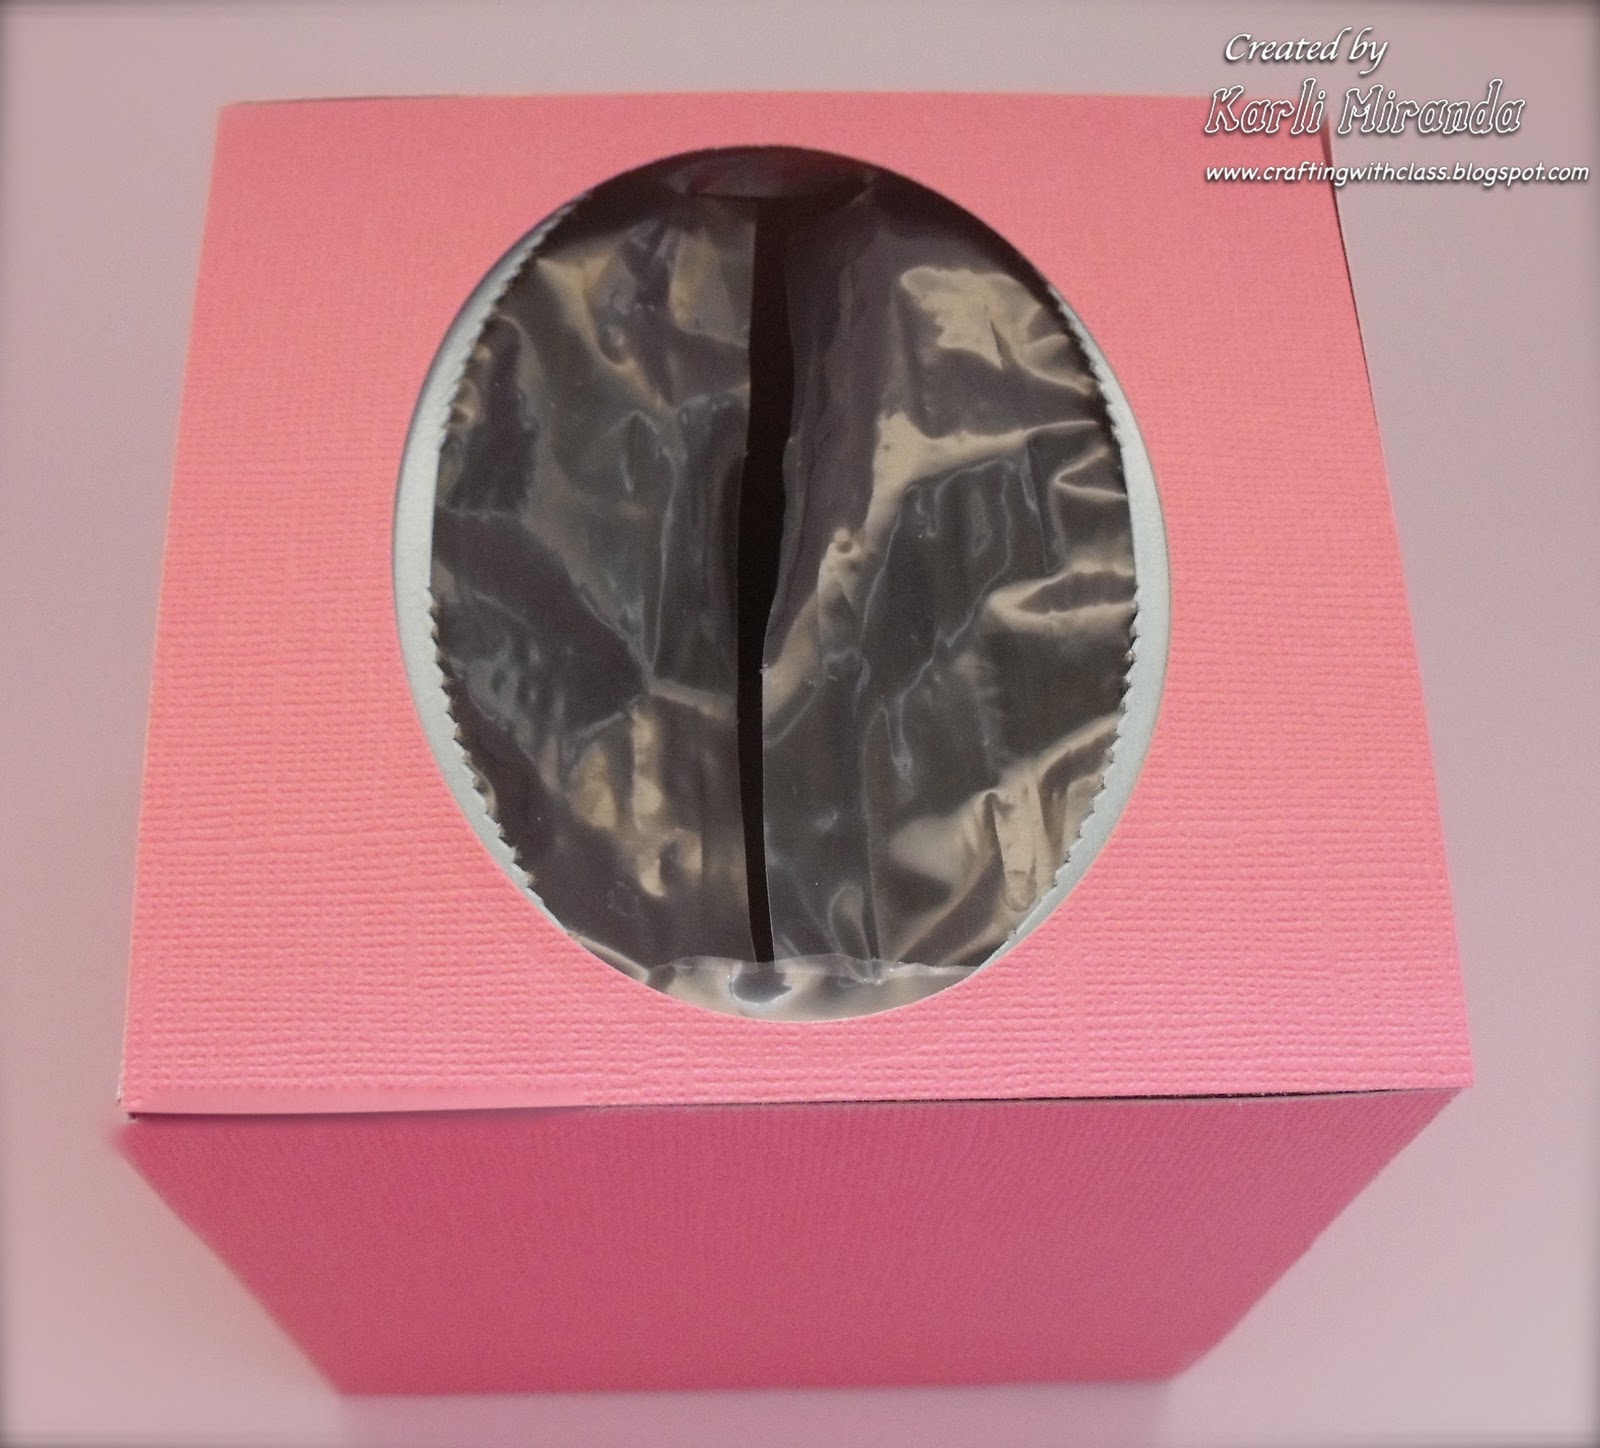
1) Start with an empty tissue box. The opening is a perfect size for little hands to reach in & grab a treat!
2) Cover the box with cardstock. I used my largest oval Nesties to create the opening:
Adhere the top piece on. Notice that it wasn't exactly a perfect match :(
So I punched out a few flowers to hide that slight imperfection & embellish the top of the box :) Ahhhhh, and all is well in the world once again!
Then I just added an accordian fold strip to the left over piece I cut out with my oval Nesties & popped up "You Did It!" I cut that out on my Cricut at 5" with the Wild Card Cart. I dotted the "i's" with some Prima crystals.
and that's it! A fun & easy little treat box to reward a good day at school.
Here's the finished box one more time:
Thanks so much for peeking! All the supplies for this quick little project can be found at the YMH store---> HERE.
Hi ya friends,
I have a really simple project I worked on with my friend's 10 year-old daughter. We started with this frame I bought at the dollar store:
and finished with this one:
Another peek:
We had a great time. It didn't take very long & I got to show her some papercrafting techniques & tips.
It's so fun crafting with girls :) If I asked my boys to craft with me, they would blurt out, "Mom, give us one more chance! We'll be good!!!" ---> yes, they would think it's a punishment :0 But when I REALLY want to punish them, I tell them I'm going to take them with me to... MICHAELS!!! Nooooooooooooo!!!
Here's what they sound like in Mike's:
-"Mom, when are we leaving?" (Mind you, we just pulled up in the parking lot)
- "You already have all this stuff at home!!!"
- "You already saw this section!"
Boys, gotta love them ;)
But, don't go looking for these craft goodies at Mikes- they're not there. All the supplies for this project can be found at the YMH Store---> HERE (pssst... on sale ;)
Thanks so much for peeking today & enjoy the beautiful weekend!!! Yaaay :)
Hi friends,
I'm so excited to have been asked to be a Digi Guest Designer for July for Firecracker Designs by Pamela! Today, I'm sharing two fun projects geared for the kiddos at our 4th of July get-together. My SIL asked if I would do an arts & crafts hour for the kiddos. I said "Yes!" cuz they were thinking of getting a clown- I don't think so :( So Auntie Karli needed to come up with inexpensive, yet fun activities for them & I thought Pamela's digi would be PERFECT!
For both projects, I used the Grand Old Flag Digi stamp:
Here are both projects: 1) a Wishcaster Wand 2) a twirly bird aka- Helicopter
I've created mini-tuts in case you'd like to make some with your kiddos.
The first project: Wishcaster Wand
You'll need:
a skewer
markers or crayons
star punches
cardstock (fit 2 stars on an 8 1/2 x 11 CS)
paint
adhesives
Transparency (optional)
First, paint the skewer any color you'd like. Put it aside to dry.
Color 2 Grand ol' Flag digi stamps & cut them out.
I added crystal laquer to the red stripes so they would be shiny :) (Our kiddos will use modge podge once they're done making it)
Add strong adhesive (scor-tape) to secure the skewer & to hold the strips your stars will be on.
Add your dangly strips. I cut old transparency sheets (we don't use at school anymore) in different lengths, so that it looked like the stars were floating in the air. You could also use ribbon scraps, paper strips, yarn- anything you'd like.
Add a "wish cloud" - aka cotton ball ;) to the center to make it puffy & to add a special wish. Puff the cloud out but it shouldn't be too puffy that it makes it hard to seal the star.
Add strong adhesive to the edges & seal with the second star. You're done! I also added the sentiment that also comes with the digi stamp with foam dots.
Second project: Twirly birds aka Helicopters
You'll need:
the template (yes, I've included it for your downloading pleasure!)
a paper clip
colors
You'll need 2 much smaller stars. Print them out on copy paper (or CS if you'd like.) Color & cut out.
Cut out template -print on copy paper ( I put 3 templates on 1 sheet)
All the solid lines are cut lines, the dashed lines are fold lines.
(Please ignore this line- scissors are pointing to it- I just couldn't get rid of it for some reason :( but you don't need to do anything with it.
To begin, cut on the long solid line:
Cut the 2 small solid lines along the sides: snip, snip
Fold one of the long strips back & fold the other strip forward.
Fold down one of the side tabs:
Now fold the other side tab on top of the first one to overlap:
You'll have a little end tab to fold down:
Now simply add a paper clip to serve as a weight to that tab:
Add your little stars to the paper clip (one on each side) & let them drop!
They can also decorate the paper itself before assembly. You may want to try larger paper clips, adding multiple paper clips to see how it affects the helicopter.
Now you can take the time to teach a mini lesson on the basic principles of physics & aerodynamics to the kiddos! ... or you can just have fun watching the helicopters twirl to the ground :) Hee! Hee! BTW, this project is one we teach to our 2nd graders in our study of Balance & Motion so if you DO want this lesson I can give it... no??? Oh, OK ;)
The great thing about Digis is that you can size them to whatever you want as I did for my projects. To get the Grand Ol' Flag digi (and lots more) visit Firecracker Designs by Pamela---> HERE. You may also want to visit her blog---> HERE, cuz she posts contests & FREE digis too :) and you should definitely check out what happens on Wednesdays... I'm just sayin'....
I'll be sharing more projects featuring more of FCD Digi images throughout this month!
I hope you like these two very simple projects & you give them a try- the kiddos will enjoy them ;)
To my US friends- have a safe & fun 4th of July and to my friends everywhere else...
Thanks for peeking!
Here's the twirly bird/ Helicopter template. Enjoy! Helicopters
I have to admit that when I saw commercials for this movie, it didn't catch my attention. My attitude was "I'll pass on the old guy." One of my friends kept raving about how much he enjoyed it so I ended up taking my little one. Well, here I am 15 minutes into the movie & guess what I was doing? WEEPING!!! I am not a crier, but it was so moving. If you haven't seen this movie I won't spoil it for you, but the final verdict for this movie was that I LOVED it! It was soooooo funny, touching, action-packed, great movie. Not just a great kid's movie. I mean a great movie- period!
Anyhoo, here's my card:
It's a very simple card. My inspiration was one of my fav parts of the movie when Doug (the dog) yells "Squirrel!" as he's so easily distracted (totally reminding me of my boys!). I totally laughed out loud at that scene :) Pixar just does not disappoint. Very creative peeps at that company!
I used the Doodlecharms Cricut Cart to make "Doug" and the balloons came from A Child's Year cart. As you can see, the balloons spell "Squirrel!" I did some faux stitching around the sides to frame it.
Thanks so much for peeking today! Don't forget to check out the 3 blog candies I'm offering for my blogoversary!
Gotta Go!
Hi friends,
I wanted to share a simple little project my school kiddos make for Easter that is so super easy to make.
Here are the deets:
What you'll need:
*white lunch bag (or whatever color you want your bunny to be)
*cotton ball for the tail
Take your lunch bag
and follow this pattern to create the bunny ears & head. (We just eyeball it)
Cut it out while holding both sides of bag together.
Decorate your bunny however you'd like. This is where the kiddos can get creative & artistic. Hopefully better than my possessed bunny :( Maybe he's just entranced by my beauty ;)
You can cut a circle in half to make the front paws:
Oh ratatouille! I forgot, we add a bow like between his teeth and his paws. It looks cute so be sure to add it on yours :(
Then flip it to the back & add a drop of glue
And add your cotton ball on top for his fluffy tail
Now open your bag. The front flaps make up your bunny ears and the back flaps will become the handle to the bag/basket.
Add glue to the end of one of the back flaps
and stick the other back flap on it to create the handle.
(See the front ears & the back handle?)
That's all folks! Your bunny is ready to be filled with egg-y goodness :)
See??? Easy-peasy lemon squeezy.
Thanks for peeking! I'll be back... with a teacher Easter gift to share.
Gotta Go!


 Posts
Posts