Showing posts with label My Timeless Templates. Show all posts

Friday, June 17, 2011

School's out, Picnic's IN!

Hi friends,
Today, I'm sharing the gift my little one will give his teacher for a year's worth, of patience, hard work, patience, dedication, and patience. Did I mention how patient she is???  ;)
I decided that the theme of this gift is that summer vacation is here & one fun thing to do while enjoying those summer activities & events is having a picnic. So I created a picnic basket filled with some picnic necesities.
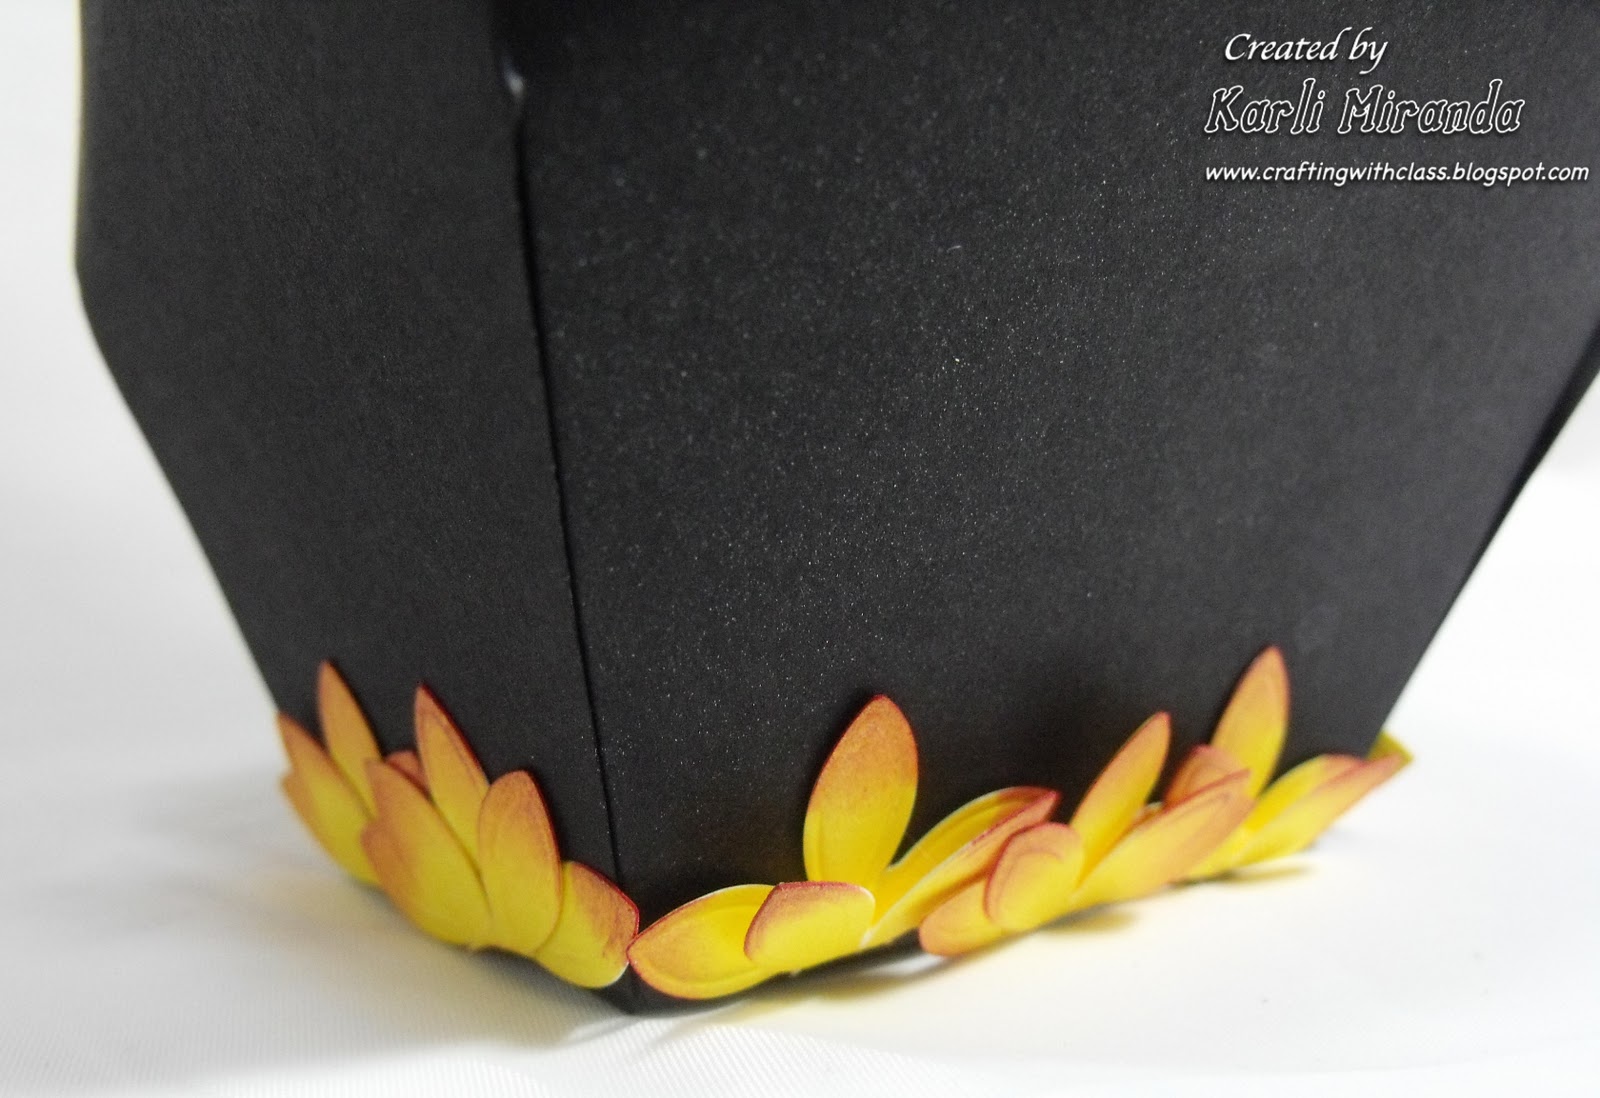
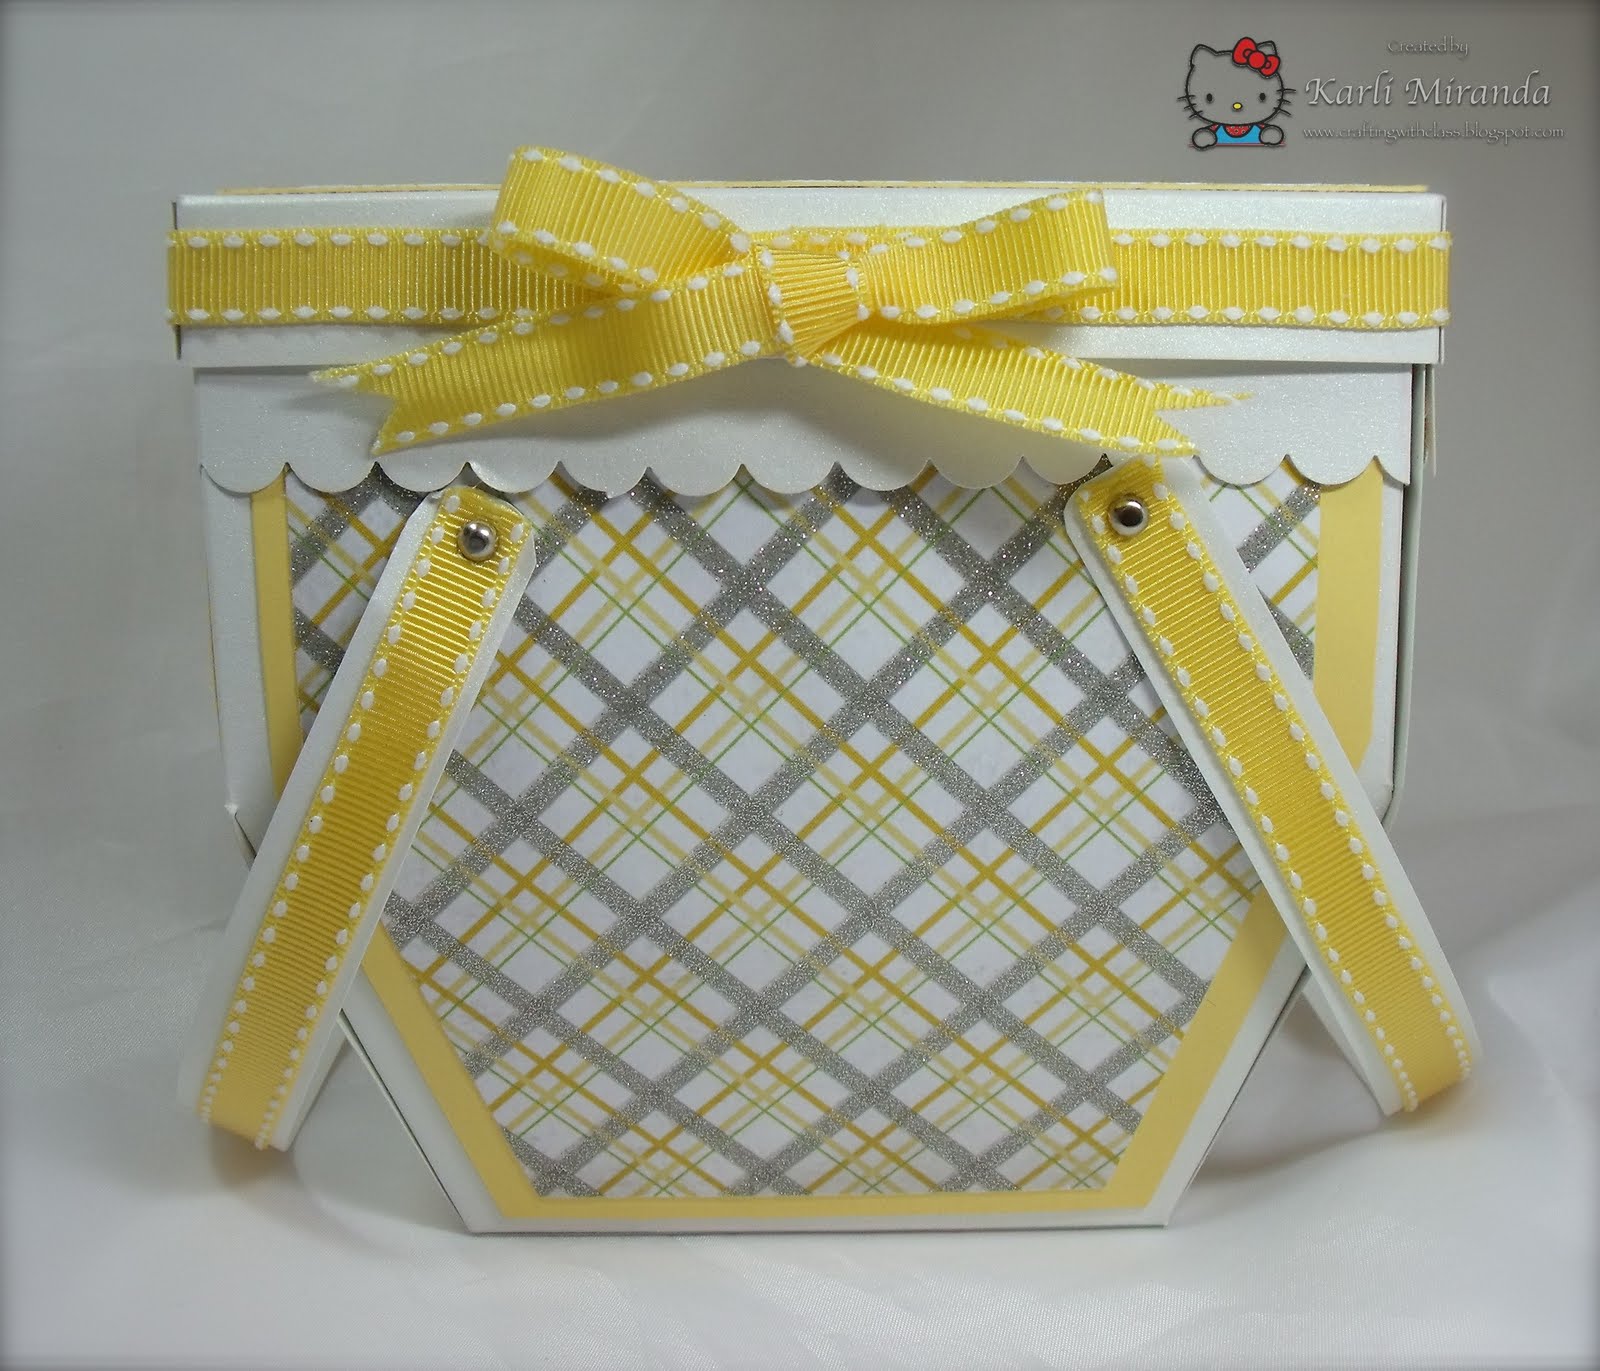
Here's the basket:

and all the basket goodies:

Inside the basket are 3 gift card holders (made with the Sizzix gift card die---> so luuuv this die!)

 And here's what's inside:
 A Barnes & Noble Gift card (feel free to read the inscriptions)

A Subway gift card:

And a Starbucks gift card

Here's a peek at the card:
It's very simple cuz I ran out of steam!

The picnic basket is a My Timeless Template from Lauren Meader for PTI. I used the largest size for my basket. I used shimmer cardstock for the base so it's sturdy & shimmery :) The pattern papers are so dreamy. Love the colors! It's from the Lemon Flowers Stack by DCWV. The stamp is PTI as is the embossing plate used on the card front (In Bloom).

Sorry for the crudy pics, but my camera batteries were recharging & I had to use an old one. Plus my OTT light decided to die too :(   Ugh :(

Thanks so much for peeking!
Gotta Go!

Sunday, October 24, 2010

Somethin's a brewin'

Hi there friends,
I finally got some time to craft this weekend & got going on my Halloween projects :(  I've been super busy at work plus this is the time of the year when all those awesome fright flicks are on the tube so needless to say there are lots of distractions around! Anyhoo, here's today's little project for ya:
 It's a witch's boiling cauldron with oozing slime :) Look at what's brewin' !!! I used one of Lauren's templates from MTT that I've had for a long time called Pack a Picnic to create the cauldron.

 Here's a closer peek at the flames. I made these with some Brides flowers in a can (from Mikes) fold them in half & ink up the edges. I also added some TA Glimmer Mist in Silver to the cauldron for added texture (which I think you can see in the pic :)

Here's another peek at the goodies in the cauldron:
No cauldron can be complete without a few body parts ;) so I tucked a severed thumb & foot & yummy eyeballs! The smoke in the cauldron is actually cotton candy :) yummmm
The template comes in 2 sizes. Here they are side by side. I think I'm going to use the big one for Jordan's teacher's gift. If you're interested, you can purchase the template---> HERE. This project is just in time for this week's JUGS template challenge too :)

Thanks so much for peeking today! I've got more to share---> same bat time, same bat channel!
Gotta Go!

Tuesday, June 8, 2010

Teacher's Lunch Box

Hi ya friends,
Today I'm sharing the end of the year gift I made for Jordan's teacher.
Here it is:
It's the lunch box, book, and apples.
So let's give ya the deets to each one.

The Lunchbox:
I created this lunch box using Lauren's template "Let's Do Lunch". I bought it a while back, but hadn't made anything with it. I did a ribbon treatment to the front & adhered an apple button to it.

Next up are the apple cards.
I cut these out on my Cricut & adhered the gift cards with removable glue dots. I stamped the sentiments & added a simple bow---> eeeeeeeasy!

Here is the book:
I created this to look like a book. And inside, the gift card is tucked in.
The Deets:
Box:
Start with a sheet of paper 7 1/4" x 5 1/4"
Score the long side at: 3/4", 3 1/4", 4", 6 1/2" 
Score 3/4" on all 4 sides (2 of the sides will have already been done)
Assemble your box.

Book Cover: 
Paper 6 3/8" x 4 3/8"
Score the long side at: 2 7/8" & 3 5/8" (this creates the spine)
Embellish as you'd like :)
 Here they are nicely tucked in.

So what do you get a teacher for the end of the year? It depends on the teacher! Typically for the end of the year, I like giving (and getting ;) gift cards. GCs are a good way to go. You should probably avoid things like mugs (you can only have so many mugs!), or knick knacks/decorations.
I know what I appreciate (even more than GCs) is when a parent writes me a letter to let me know that they appreciated my hard work. I keep those and look at them when I start to feel that I went into the wrong profession! they keep me hangin' on just a little longer :) I love when they bring me fresh flowers from their gardens. So you don't have to spend tons on a gift for teacher appreciation for a teacher to feel appreciated.

Thanks so much for peeking! To see more ideas, click on the TEACHER RESOURCES link in the sidebar :)
Gotta Go!

Thursday, June 25, 2009

Papertrey Ink Blog Hop-June


Hi friends,
I'm back to participate in PTI's Blog Hop again! Thank you everyone who left such wonderful comments for my last project. I truly appreciate it Smileys. The theme for this month was "The Lazy Days of Summer." I don't know why they call it that because there are NO lazy days around here! It's crazy busy with my boys taking them to ALL of their activities!

Anyhoo, here's the inspiration for today's
project:
We have a red bucket (but I don't know under which of my sons' beds it's at, tee hee!)
Here's my Project: I used My Timeless Templates- Pack a Picnic (Small). I punched the border with the wave punch & punched a circle, backed it with foam tape where the handle attaches to the bucket for added detail.


Living in Southern California, we make several beach trips. One of my favorite things to do at the beach is collect shells with my boys. We don't usually find any big ones but these are some of the ones we've collected.


My good friend will be visiting from out of state & I'm sure we'll be going to the beach. I'm probably going to be giving it to her little girl to take her shells home in.

Thanks for hopping by today & peeking at my project! If you'd like to see other projects I've created with My Timeless Templates click here & here -- gotta go!

Today's Project was brought to you by:
Paper: Pure Poppy, white -PTI
MTT: Pack a Picnic -small template used for this project

Tuesday, June 16, 2009

Teacher Gifts

Hi friends,
Today I wanted to share the gifts I made for my son's teacher. This is around the time when people are scurrying to get something for their child's teacher. Some of the chatter I've heard is not to give teachers "apple" things because the theme is played out. Well, I thought I'd give you some expert advice - since I play one in real life scuba diving in Belize
I interviewed many, many teachers on the topic and I could not find one who did not like the apple theme. So go ahead - be the apple of their eye! Anyhoo, on to the gifts:

This is a personalized stationary set with matching glitter pen. Notice anything different (besides the horrible photography)? See it now? How about now? Need a hint? OK, here's the difference: brown worm vs. green worm. Well, when I was showing it to my son, he asked me why the apple had an earthworm coming out of it? Yeah, really! So I listened to my little boy & changed it to a green apple worm. After I got his approval, he thought it would look more realistic if I scalloped the body like the segments caterpillars have. Awwww, my baby boy is paying attention to details free smilies --Mama's proud. So I scalloped it. I made a slit in the apple so it looks like it's coming out of it. On the notes, only the top sheet has a full colored picture, the rest are watermarked so when she writes a note it won't be hard to read the writing.

Next is the Flower Pot:
I know his teacher likes Orchids so that's what I put in the pot. I wrapped ribbon that looks like a ruler around it, die cut the little chalkboard & added the message and glued it to the pencil. I also put that little personalized apple in it. I think I may hang it, but I'm not sure yet.


Here's a closer look:


And finally, is the card:

I cut the apple out with my Cricut and used it as a template to create the card base. I cut it out & added the red apple (I used as the template) on top of the base. Then I decorated it as you see in the picture. I ran the leaf through my crimper & inked it up to highlight those raised areas.

Thanks so much for peeking today! I'm off to make apple pancakes- gotta go!
If you want to see another Personalized stationary set I made, click here.


Today's Projects Use:
Personalized Stationary Set:
Desk Top Organizer (MTT @ PaperTrey Ink)
Paper: Real Red, Wild Wasabi (SU), Grade School Stack (DCWV), Black, white
Stamps: Teacher's Apple (PTI)
Other: Pentel pen, scallop & oval punches (SU)

Flower Pot:
Dies: Blackboard (Bosskut)
Other: Pot & Ruler Ribbon (Michael's), Glue dots, Signo white gel pen

Card:
Cricut: Schoolbook Font Cartridge (apple)
Paper: real red, wild wasabi (SU), white, Grade School Stack (DCWV)
Stamps: Teacher's Apple (PTI)
Ink: black cat's eye, Palette noir, wild wasabi (SU)
Other: Colluzle alphabet template, foam tape

Monday, May 4, 2009

Tea for Grandma

Hi friends,
Today I'm sharing the teapot box I made for my grandma's birthday. She's a tea drinker-every night before bed. It is made with MTT "Get a handle on it." Once I saw Lauren's fabulous creation I knew I HAD TO make one for my grandma. She turned 82 years old and she keeps saying she doesn't want anymore "stuff." She loves my crafts & every time I make something for her, she always gushes over it. (I guess that's what grandmas do & why they're the "bestest"!) Anyhoo, here it is:

Front & Side view: I punched a butterfly
out of vellum the same color as the printed butterfly for dimension. I also created a 3-D spout where another butterfly is flying from.
Here's a closer look at the spout I created


Here's the inside-full of assorted tea. They match the colors of the box -I didn't plan that :)
And Finally, here's the back (the only thing I stamped on the whole project).
The paper is soooo beautiful, I let it do all of the work. The ribbon is made up of 2 scraps I tied individually so they look like one long ribbon. (you know me & my scraps- I hardly ever throw anything away!)

If you'd like to make one for yourself, you can get the template called "Get a Handle on It" & the beautiful stamp set called "Tea for Two" at Papertrey Ink. Lauren's templates are super easy to work with, so if you haven't tried them I hope you give one a try. There are two free templates you can download there as well. To see what else I've created with MTTs, click here.

Oh, I almost forgot! Come back tomorrow & I'll show you the card I made that matches this project. I can't forget the card right? I'm off to get ready for another week of testing. Well, two more days actually-gotta go!


Today's project uses:
My Timeless Templates- "Get a Handle on it"
Stamps: Tea for two- Papertrey Ink
Paper: Bridgeport: Springside- sei, Pastel Vellum, white CS
Tools: Martha Stewart: Butterfly punch
Other: tea, wire, ribbon

Saturday, April 25, 2009

Papertrey Ink Blog Hop- April

Hi friends,
Today I'm excited to show you what I did for PTI's Blog Hop.

I was so excited when I saw this month's Blog Hop was to feature Lauren's Timeless Templates (luuuuuuv!) I've purchased most of them because they are truly easy to work with. (At the end of this post, I'll show you how I like to print & put them together.) On to the deets...
This Office desk Trio is for my uncle. He often brings home work to do so I thought I would make these as his birthday present to help him maximize organization of his everyday office supplies for his home office.

First up is a Personalized Note Tray (very much inspired by Nichole's) using "Desk Top Organizer." I used the Damask design because it is gender neutral. It is slightly glittered, but not over the top. I think it gives it elegance. I used a fleur-de-lis border punch to punch a border in vellum.

I also made 4 coordinating pens. I used the Pentel pens because you can unscrew the top & add your personalization to the barrel. I used the smaller pen (I think the RSVP can be bulky). Plus I bought these thinner pens at the 99c store (5 for $1)-much cheaper! I hope you can see the difference in the pic.

Up next is a caddy using "From the Desk of."

I created an acetate compartment that divides the back pocket into thirds. This way, the bottom of the box won't be damaged by scissors, pencil/pen marks. (I'm a little type-A, I know!) Again, I used the border punch in vellum to accent the top of the box.

Finally, is the big daddy of the bunch. I used "File it with Flair" to make this organizer.

I included generic labels (bills, notes, outgoing, paid, to do, to be filed, etc) so he can personalize it to whatever his needs may be. Again, I punched a vellum border to accentuate the top of the organizer.

Now, this is how I prefer to print o
ut MTTs. I have put cardstock in my printer & it goes through alright. Of course, each time I would hold my breath hoping it wouldn't jam, print out unevenly, or bend/warp the cardstock. Too much stress! Well, what I REALLY DIDN'T like was having score lines show. I even lightened them, but you could still see them. I don't know about you, but I like it when someone can't figure out how I did it. When someone can see where the template is- it just looks like my kids can do it too. NOOO!!! I want to look like I'm a crafting engineer, even if I'm not :)

So I just print it on regular copy paper-no muss, no fuss. Then I line it up with my cardstock & staple it around places that I won't be using. Don't need to go crazy- just enough to hold it down. The staples hold it in place beautifully!


Then I simply cut it out. I try to cut in straight lines because then the paper tends not to shift at all. The scraps just fall away cleanly, in big pieces. ( I also use those scraps for other things.)


Then I just put it on my trimmer & score on the template and cardstock together. For me this is the BEST way I've tried.


I folded the papers back so you can see how well it scores through both. I use the Martha Stewart bone folder because it has very pointy tips & edges so your score lines are crisp & clean.


I use Scor-Tape to adhere it together. It sticks to the paper- not to you! I hope you found this helpful & you liked my projects today.

I'm off to meet Eric Carle at the Festival of Books at UCLA today. YAAY! So excited :)
He'll be signing copies of t
he anniversary edition of The Very Hungry Caterpillar. Don't know who he is? Ask any teacher or child anywhere! His books are wonderful!
Thanks for hopping by!


Blog Widget by LinkWithin